Understanding the Medicine Cabinet with Lights

Medicine cabinets with lights offer a convenient and practical solution for illuminating your bathroom while providing a secure storage space for your toiletries and medications. These cabinets come in various styles and configurations, each with its own set of features and installation methods.
Types of Medicine Cabinets with Lights
Medicine cabinets with lights can be broadly categorized based on their installation methods and lighting features. Here are some common types:
- Recessed Medicine Cabinets: These cabinets are built into the wall, creating a seamless and integrated look. They typically have a built-in light fixture that illuminates the cabinet’s interior. Recessed cabinets are often installed during construction or renovation, as they require specialized framing and wiring.
- Surface-Mount Medicine Cabinets: These cabinets are mounted directly onto the wall surface, offering a quick and easy installation process. They come with various lighting options, including integrated LED strips, halogen bulbs, or external fixtures.
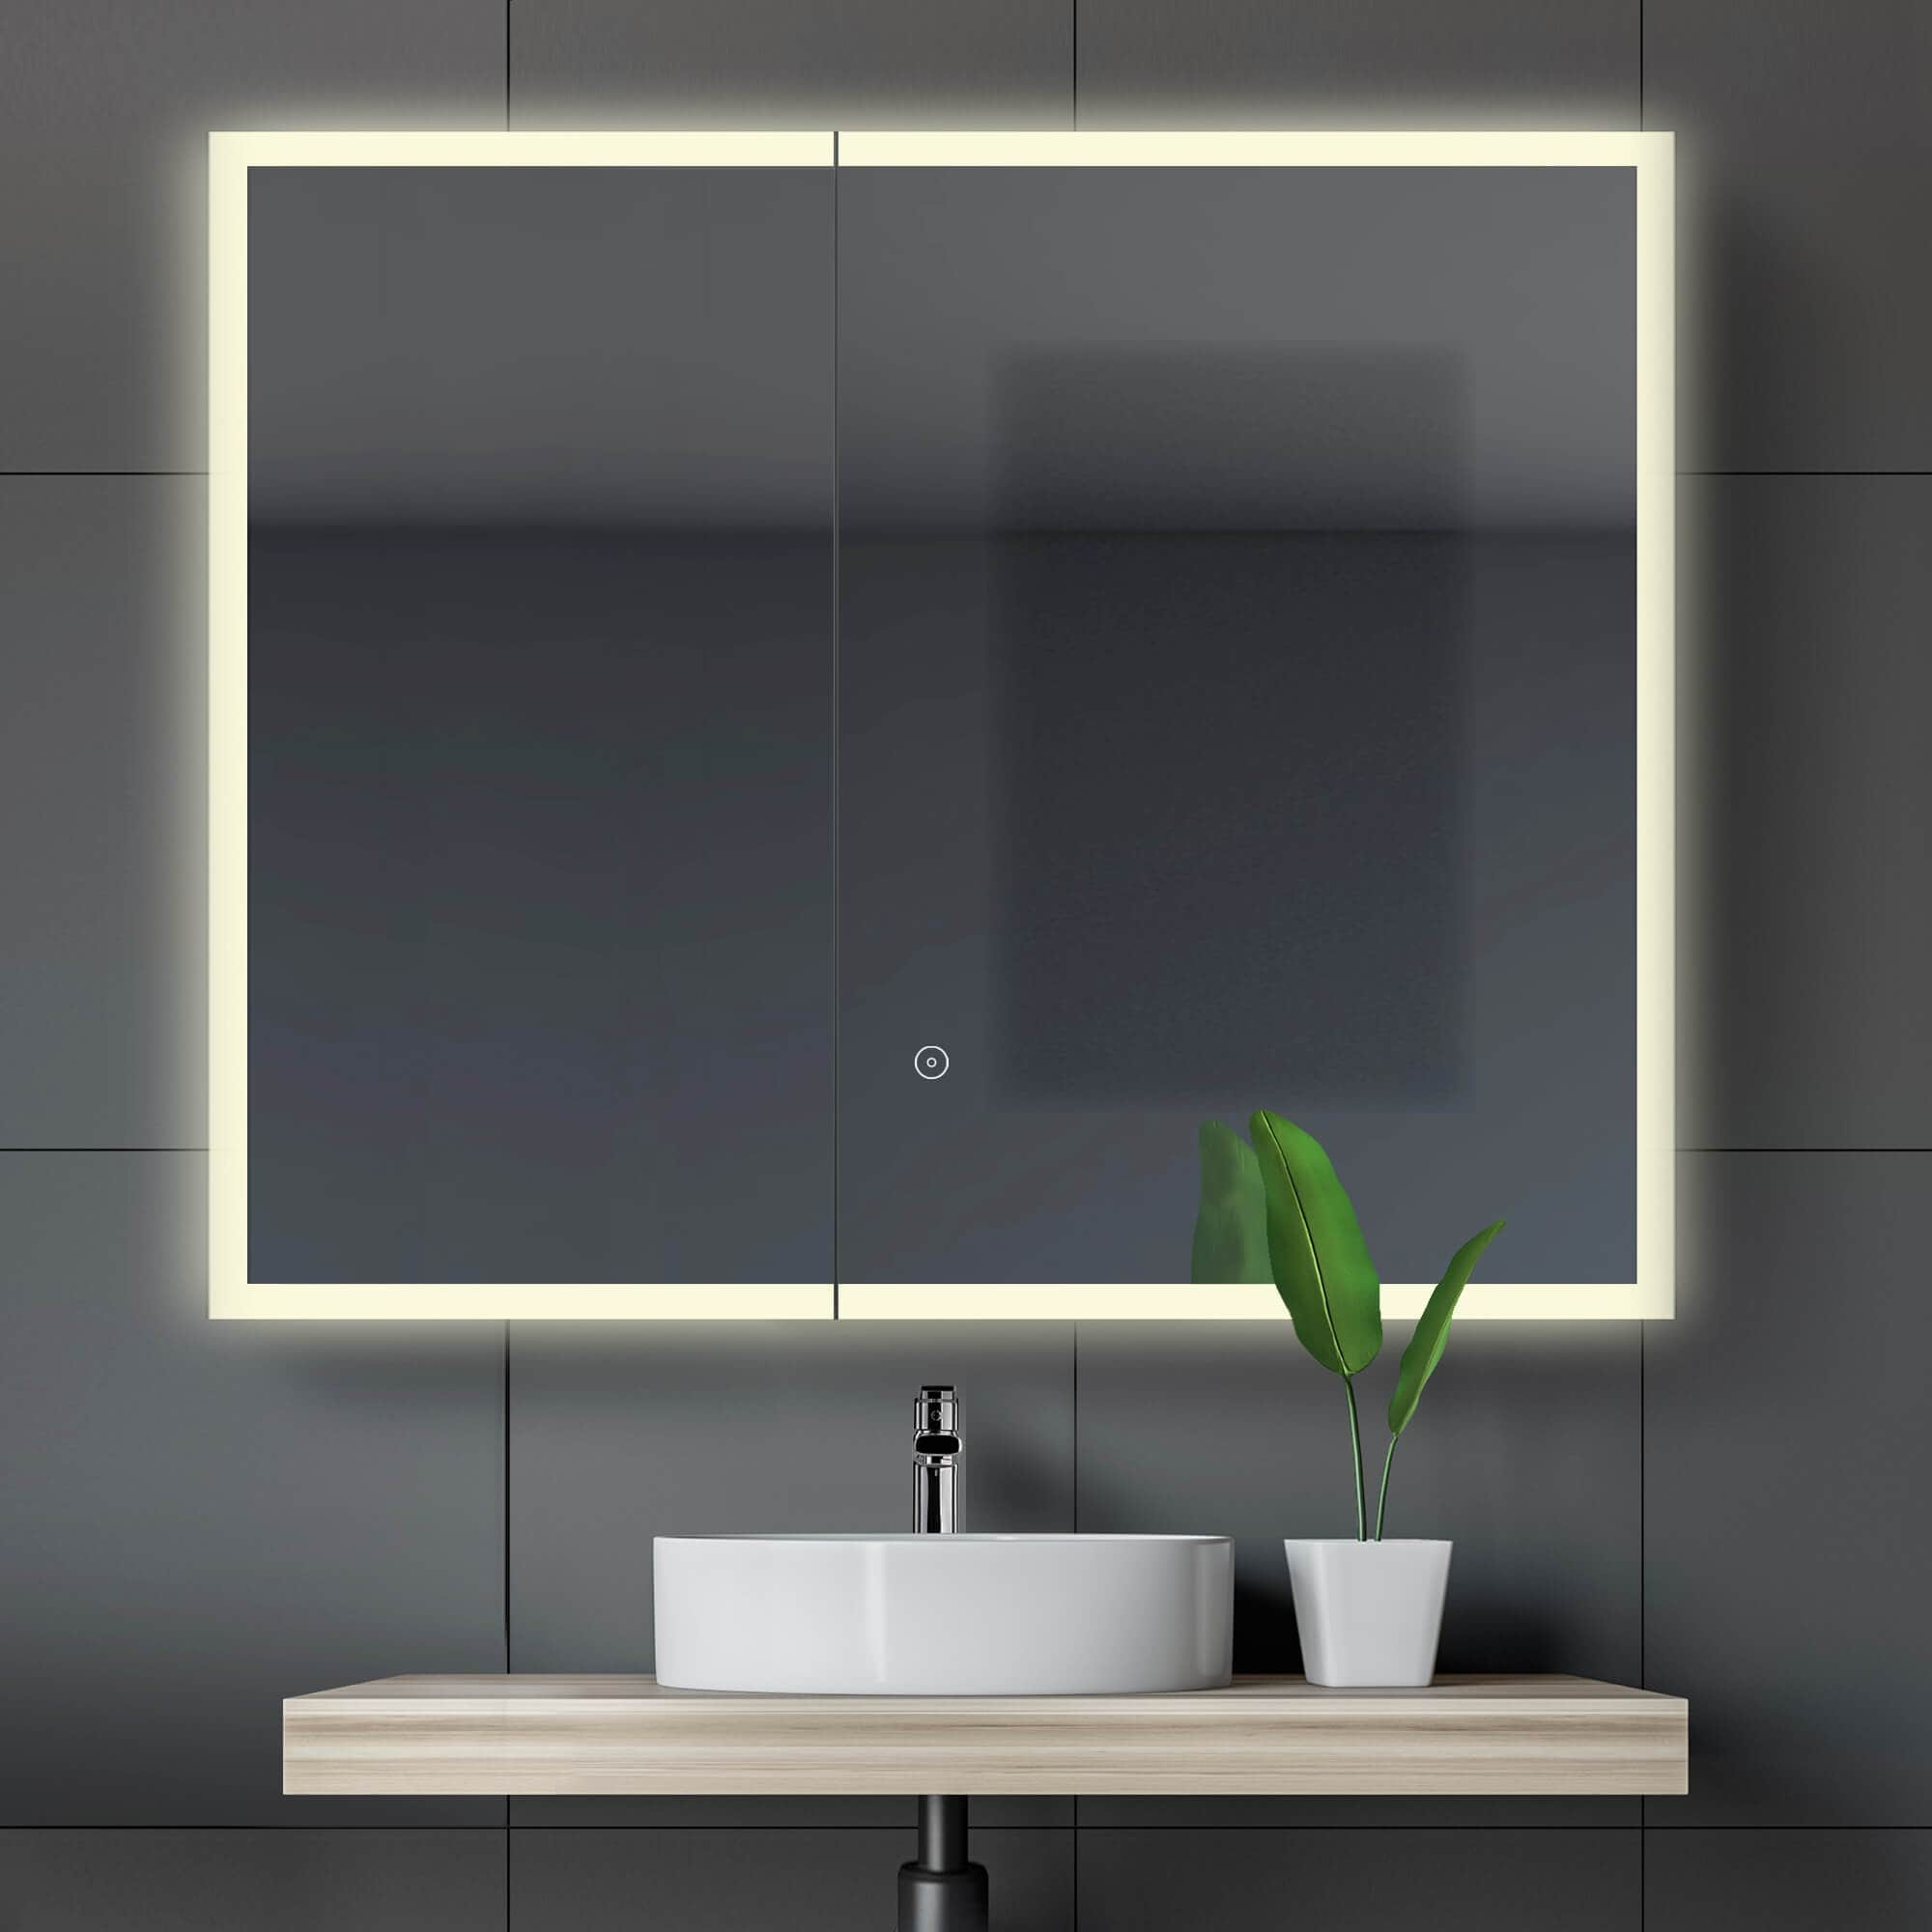
- Mirrored Medicine Cabinets: These cabinets combine a mirrored front with a storage compartment behind. The mirror often incorporates integrated lights that provide a clear view for grooming and applying makeup.
Challenges Involved in Removing a Medicine Cabinet with Lights
Removing a medicine cabinet with lights can be a complex task, particularly if the cabinet is wired for electricity. The process involves disconnecting the power supply, detaching the cabinet from the wall, and carefully removing any wiring or mounting hardware.
- Electrical Wiring: The cabinet’s lighting system is usually connected to the electrical wiring in your bathroom. Disconnecting the power supply safely and correctly is crucial to avoid electrical shocks or damage to the wiring.
- Mounting Methods: Medicine cabinets can be mounted using various methods, including screws, brackets, or adhesive strips. The removal process will vary depending on the specific mounting method used.
- Potential Damage to Surrounding Surfaces: Removing the cabinet can potentially damage the surrounding walls, tiles, or trim. This is especially true if the cabinet is secured with screws or adhesive that leaves behind residue or holes.
Tools and Materials Needed for Removal
Before attempting to remove your medicine cabinet with lights, gather the following tools and materials:
- Screwdriver: A Phillips head screwdriver is typically needed for removing screws that secure the cabinet.
- Wire Strippers: If you need to disconnect electrical wiring, wire strippers will help you remove insulation from the wires.
- Voltage Tester: Use a voltage tester to confirm that the power supply to the cabinet is disconnected.
- Pliers: Pliers can be helpful for removing stubborn screws or brackets.
- Putty Knife: A putty knife can be used to remove any adhesive residue left behind after removing the cabinet.
- Caulk Gun: If you need to seal any holes or cracks in the wall after removing the cabinet, a caulk gun will be useful.
Step-by-Step Removal Process: How To Remove Medicine Cabinet With Lights

Now that you have a clear understanding of the medicine cabinet with lights, it’s time to embark on the removal process. Let’s break down the steps involved, ensuring safety and a smooth operation.
Disconnecting the Power Supply
Before you begin dismantling the cabinet, it’s crucial to disconnect the power supply to the lights. This prevents any potential electrical shock and ensures a safe working environment.
- Locate the circuit breaker that controls the medicine cabinet’s power. This information can usually be found on the circuit breaker panel, often labeled with the room or fixture.
- Turn off the circuit breaker to completely cut off power to the medicine cabinet.
- Verify that the power is off by testing the lights using a non-contact voltage tester. This is an essential safety measure to ensure the electricity is completely disconnected.
Removing the Cabinet from the Wall
With the power safely off, you can proceed with removing the cabinet from the wall.
- Identify the mounting screws holding the cabinet to the wall. These are typically located on the sides or bottom of the cabinet.
- Use a screwdriver to loosen the mounting screws. Be careful not to strip the screw heads.
- Once the screws are loosened, gently pull the cabinet away from the wall.
- As you pull, be mindful of any wiring connected to the cabinet lights. Carefully disconnect the wiring from the cabinet.
- With the wiring detached, the cabinet should be free from the wall.
Disposing of the Old Medicine Cabinet
Once the medicine cabinet is removed, you need to dispose of it properly.
- Separate the cabinet into its components. This might include the cabinet itself, the mirror, the lights, and the wiring.
- Check with your local waste management authority for guidelines on how to dispose of these items. Some components might be recyclable, while others might require special disposal methods.
- It’s important to dispose of the old cabinet and its components responsibly to protect the environment and ensure safe waste management practices.
Tips and Considerations

Removing a medicine cabinet with lights requires careful attention to avoid damaging the surrounding walls and fixtures. It’s crucial to prioritize safety throughout the process. Here’s a breakdown of essential tips and considerations to ensure a successful and safe removal.
Safety Precautions, How to remove medicine cabinet with lights
Taking necessary precautions during the removal process is paramount to avoid injury and potential damage.
- Always disconnect the power to the medicine cabinet’s electrical circuit at the breaker box before starting the removal process. This ensures that you’re working with a de-energized circuit, minimizing the risk of electric shock.
- Wear safety glasses to protect your eyes from flying debris or sparks. Gloves will safeguard your hands from sharp edges or potential electrical contact.
- Work in a well-lit area to ensure good visibility and reduce the chance of accidents. Use a flashlight or portable work light if necessary.
Protecting the Surroundings
Protecting the surrounding walls and fixtures during the removal process is essential to prevent damage.
- Use masking tape to protect the surrounding walls and trim from scratches or damage. Apply tape along the edges of the cabinet and around any delicate fixtures.
- Use a utility knife or a drywall saw to carefully cut through any caulk or sealant around the cabinet. This will help to prevent damage to the wall when removing the cabinet.
- If the cabinet is secured with screws, use a screwdriver to loosen them carefully. Avoid using excessive force, which could damage the wall or cabinet.
Assessing the Wiring
Once the cabinet is removed, it’s important to assess the condition of the wiring.
- Inspect the wires for any signs of damage, such as fraying, cuts, or exposed wires. If any damage is found, it’s essential to replace the wiring.
- If the wiring is in good condition, you can safely disconnect it from the electrical box. Ensure you disconnect the power at the breaker box before working on the wiring.
- If the wiring is old or damaged, it’s best to consult a qualified electrician to ensure proper repairs or replacements are made. This will prevent potential electrical hazards.
How to remove medicine cabinet with lights – Removing a medicine cabinet with lights typically involves disconnecting the electrical wiring and carefully detaching the cabinet from the wall. If you’re looking for a place to live while you renovate, you might want to consider 1 bedroom apartments near UCF , as they often offer convenient and affordable housing options for students and young professionals.
Once you’ve found a suitable living space, you can tackle the medicine cabinet removal with confidence, ensuring all necessary safety precautions are taken.
Removing a medicine cabinet with lights often involves detaching the cabinet from the wall, disconnecting the wiring, and carefully removing the light fixture. Once the cabinet is removed, you may want to consider upgrading your lighting with modern fixtures, such as square LED under cabinet lights , which offer energy efficiency and stylish illumination.
These lights can provide a more contemporary look and enhance the functionality of your bathroom space, complementing the newly installed cabinet.